Many features inside Ivorey™ allow you to add custom code for advanced customisation, in order to adjust and use your own colours, fonts, etc. This article provides custom code snippets for various elements in Ivorey™ and instructions for applying them, to allow advanced design functionality.
This guide is perfect if you want to:
Add custom CSS code to assets inside of Ivorey™ for advanced customisation
Inside Ivorey™, you can upload and use bespoke, custom fonts for your websites, funnels, pages, stores, blogs, and more. Please refer to our Design & Customise Your Site Pages guide for the detailed steps for how to upload a custom font. Once uploaded, you can select your custom font from the usual customisation settings. However, for some features you may need custom CSS in order to display a custom font.
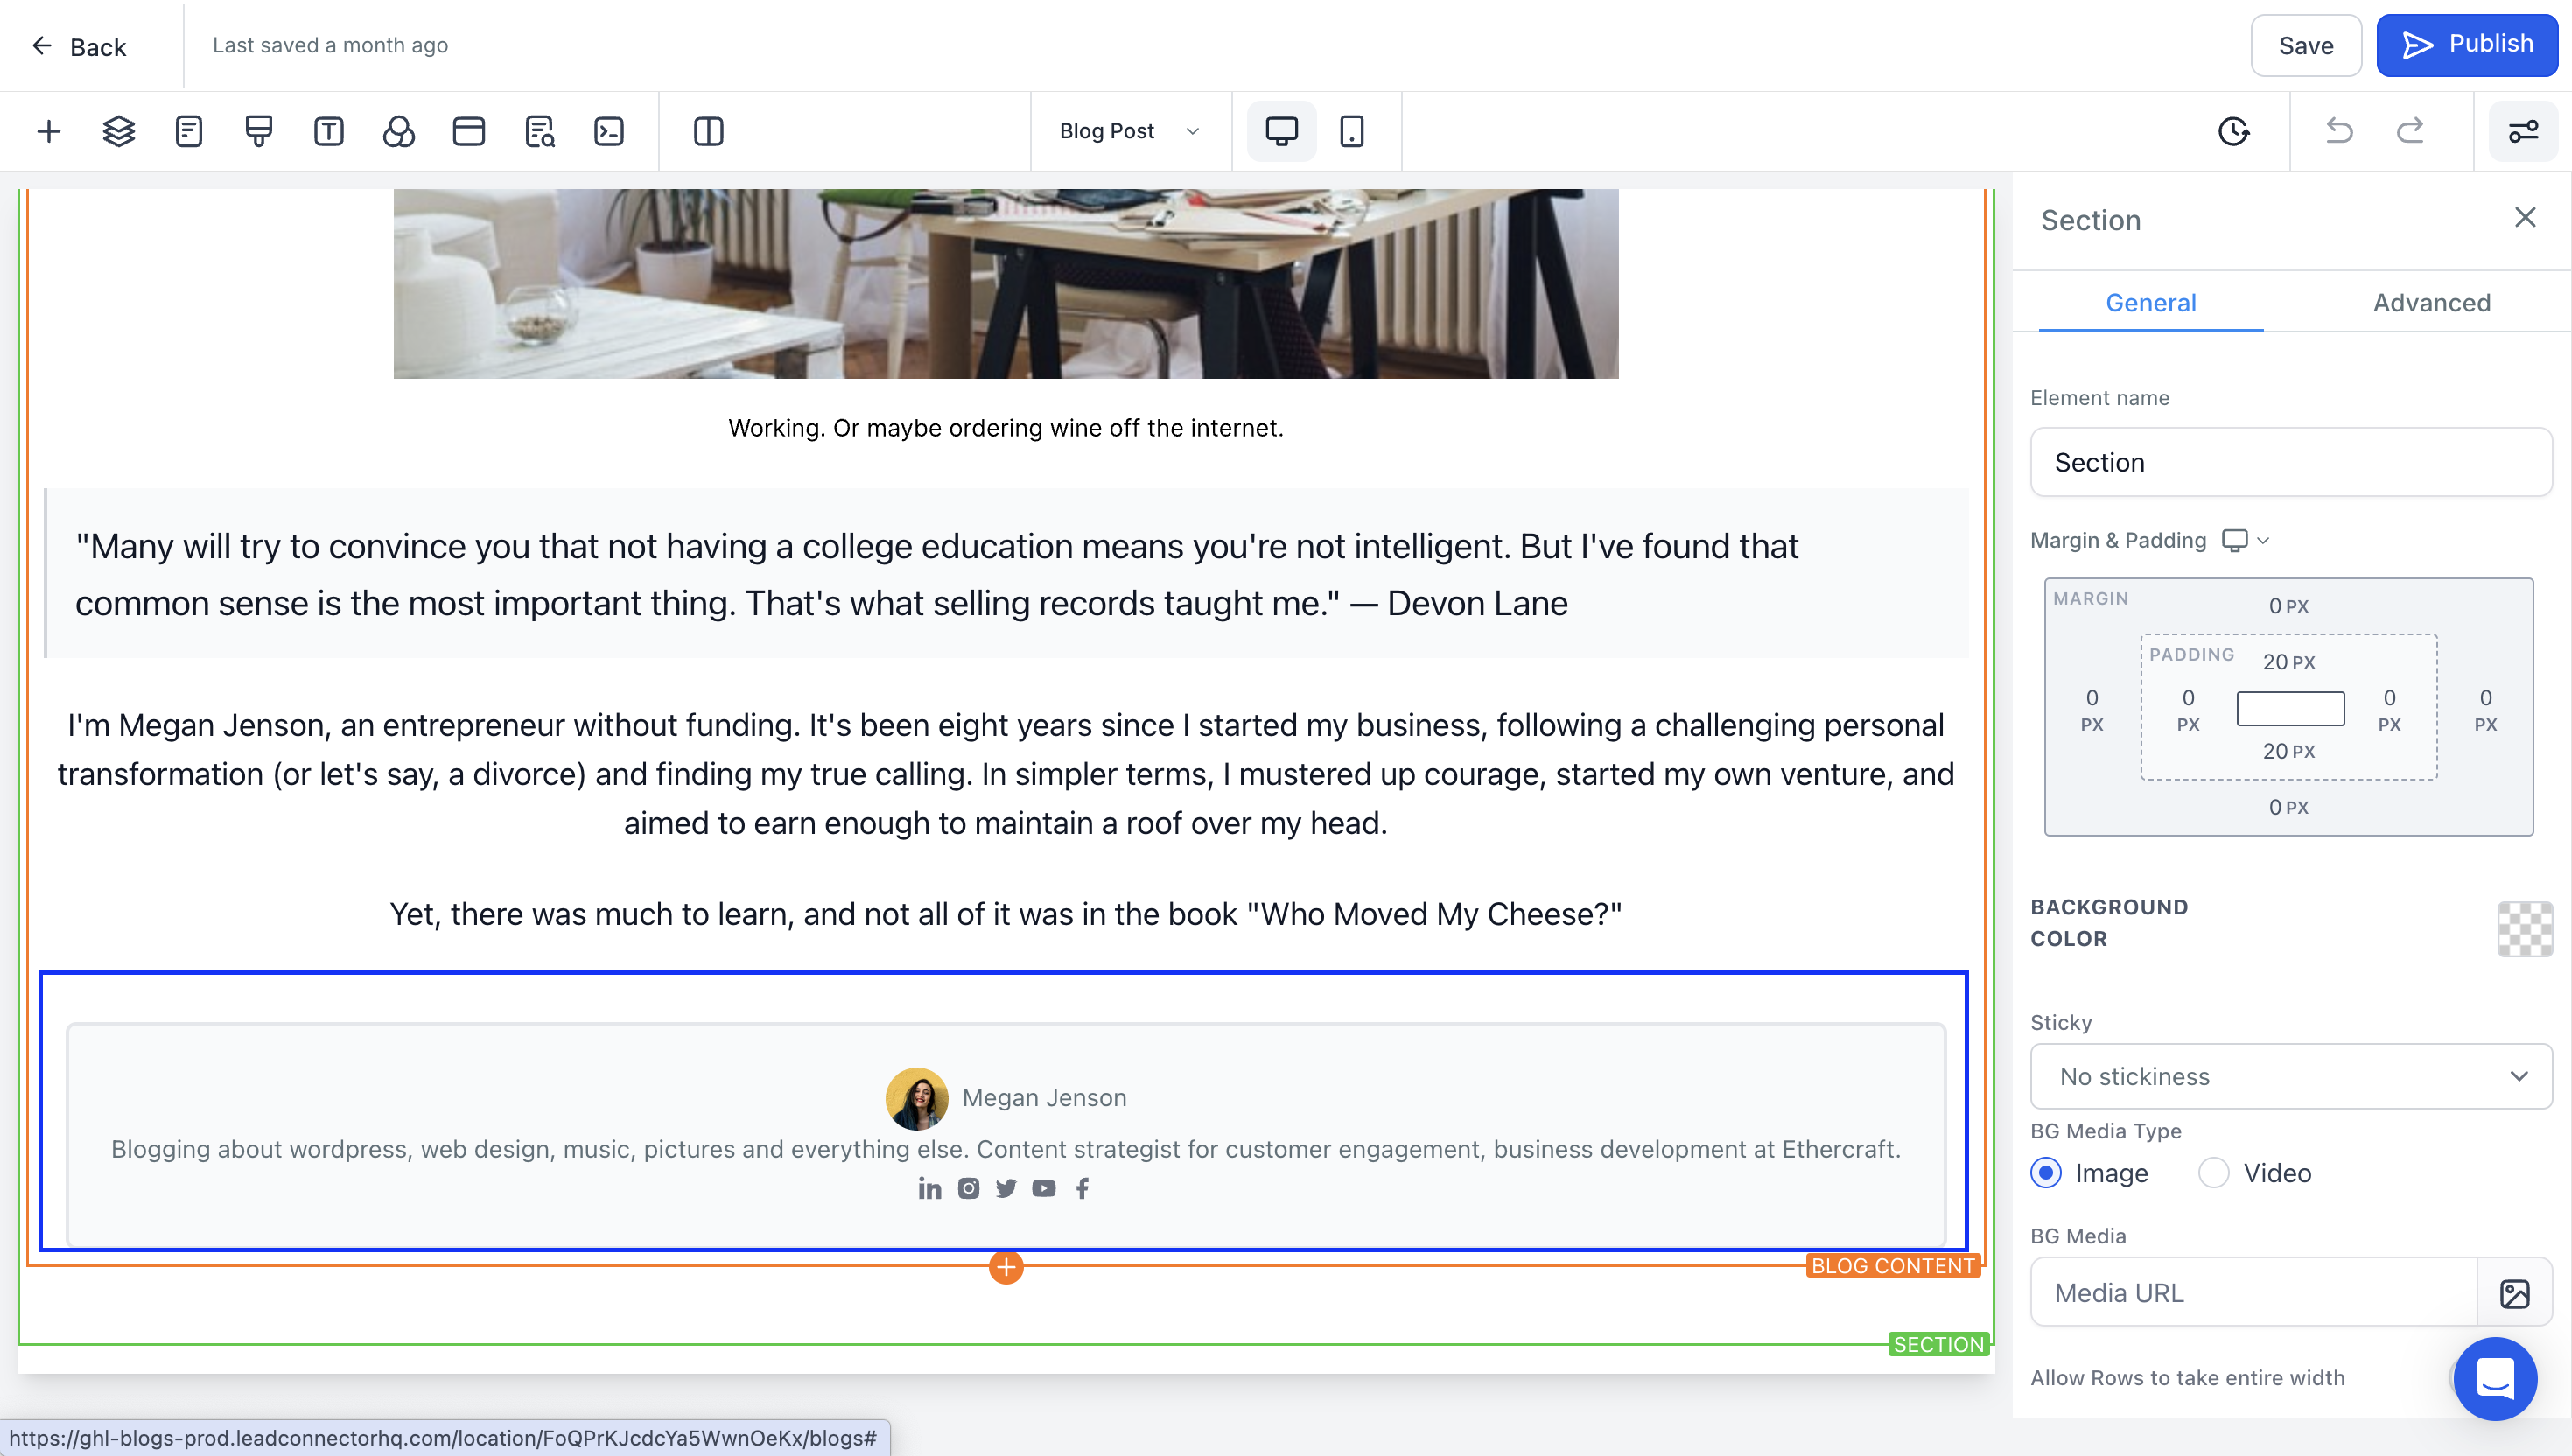
To add custom code to the Author section on your blog post page, follow the steps below.
Finding the Author section
The Author section is shown at the bottom of your blog post page as shown below:
Where to add your Custom Code
Add this CSS code to the blog page that the blog element is on by clicking on the paint brush icon on the edit menu bar.
Copy/paste the Custom Code below
You will need to copy the code below and paste it into the Custom CSS box.
.blog-html-container-single a,
.blog-author,
.blog-author-name {
font-family: ‘sweetsans’ !important;
font-weight: normal;
font-style: normal;
color: #959579 !important;
}
.blog-author-description {
font-family: ‘sweetsans’ !important;
font-weight: normal;
font-style: normal;
color: #000 !important;
}
.blog-author-details {
background-color: #F1EEE2 !important;
border-color: #F1EEE2 !important;
}
Replace the font name and hex codes
Where the font names are in bold in the code above, (e.g. ‘sweetsans’) you will need to replace these with the font names you want to use instead
Where the HEX codes are in bold above, (e.g. #959579) you will need to replace these with your brand hex codes instead
Click [Save] > [Publish]
To add custom code to the blog category's colour on your blog post page, follow the steps below.
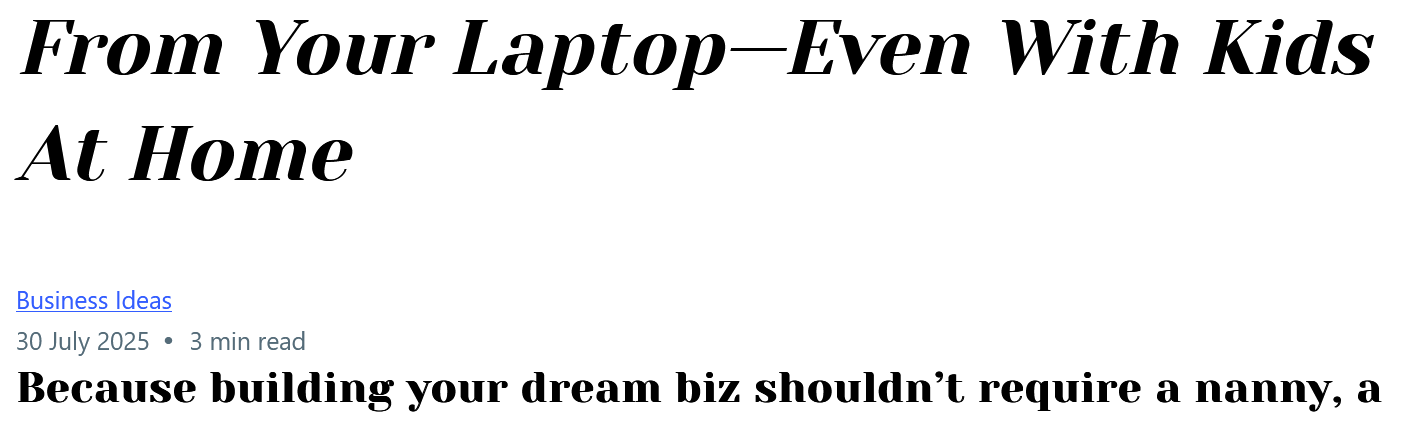
Finding the Category text
The blog category's standard setting is blue text with a blue underline, as shown below. Currently, there's no way to change this using the builder's standard settings.
Where to add your Custom Code
Add this CSS code to the blog page that the blog element is on by clicking on the paint brush icon on the edit menu bar.
Copy/paste the Custom Code below
You will need to copy the code below and paste it into the Custom CSS box.
.blog-category,
.blog-html-container-single a {
color: #000 !important;
}
Replace the font name and hex codes
Where the HEX code is in bold above, (e.g. #000), you will need to replace this with your brand hex code instead
Click [Save] > [Publish]
To customise the 'Proceed to Checkout' button inside your Offer Checkouts, follow the steps below.
Where to add your Custom Code
Add this CSS code on your offer checkout’s Advanced Custom CSS section by going to Courses > Offers > click [Advanced] under the offer description.
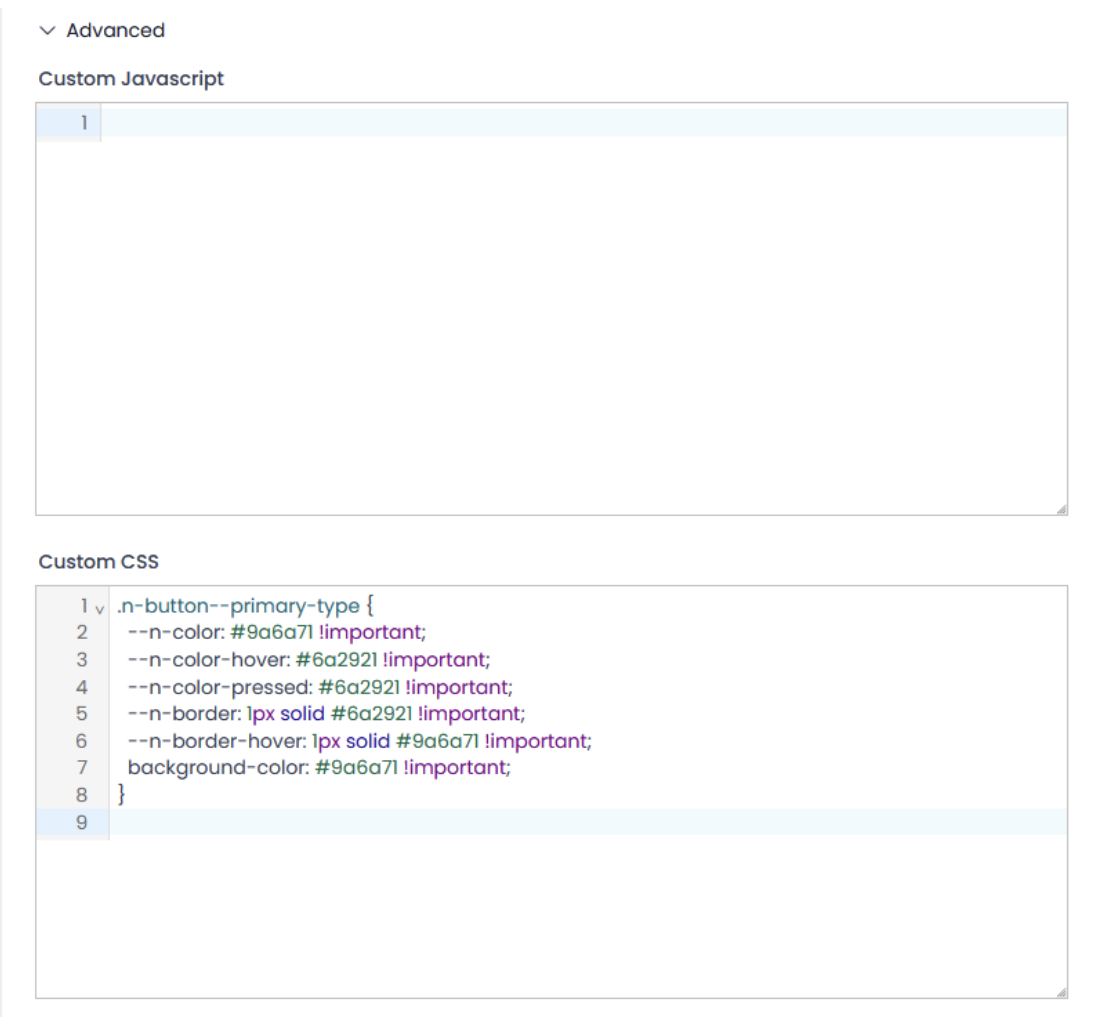
Copy/paste the Custom Code below
You will need to copy the code below and paste it into your Custom CSS box in the screen shown above.
.n-button--primary-type {
--n-color: #9a6a71 !important;
--n-color-hover: #6a2921 !important;
--n-color-pressed: #6a2921 !important;
--n-border: 1px solid #6a2921 !important;
--n-border-hover: 1px solid #9a6a71 !important;
background-color: #9a6a71 !important;
}
Add your Colour to the Custom Code
Replace the #codes in bold above (e.g. #9a6a71) with the colour code you wish to use for the button.
Click [Save]
Note:
Class: .n-button--primary-type
Do not change this unless you are targeting a different button.
This code won’t automatically apply its changes to all your offer checkouts, you still need to manually add them on each offer checkout.
Understanding the Colour Codes
--n-color: #9a6a71
This is the main colour users see when the button is in its normal state.
--n-color-hover: #6a2921
This is the hover colour.
--n-color-pressed: #6a2921
Changes the button colour when pressed.
--n-border: 1px solid #6a2921
Border color.
--n-border-hover: 1px solid #9a6a71
When hovered, the border changes to this lighter shade.
background-colour: #9a6a71
Sets the background colour to match the default button colour. This will ensure consistent button colour, even in case of fallback or override issues.
To customise the bump offer element to inside your Sales Funnel please follow the steps below.
Where to Add your Custom Code
Add this CSS code to the order form page of your funnel by clicking on the paint brush icon on the edit menu bar.
Copy/paste the Custom Code below
You will need to copy the code below and paste it into your Custom CSS box in the screen shown above.
.subheading-text,
.heading-text-zindex {
position: relative;
z-index: 20;
}
.img-zindex {
position: relative;
z-index: 10;
}
.divider-form {
background: #FA008A !important;
}
.divider-form i, .step2 i {
color: #FA008A !important;
}
.form-step .active {
color: #000 !important;
}
.forward-shopping-details,
.form-body {
color: #000 !important;
}
.ctwo-setp-order-FaKHIYl9Rp .main-section {
background-color: #F57AAD !important;
}
.ctwo-setp-order-FaKHIYl9Rp .order-bump-container {
background-color: #F2F1EB !important;
}
.ctwo-setp-order-FaKHIYl9Rp p {
color: #000 !important;
}
.ctwo-setp-order-FaKHIYl9Rp span .order-bump-container {
color: #fefefe !important;
}
.order-bump-container .headline {
color: #fefefe !important;
}
.apply-btn, .apply-coupon-btn:disabled {
background-color: #F57AAD !important;
color: #000 !important;
}
.apply-btn,
.apply-coupon-btn {
background-color: #FA008A !important;
color: #fefefe !important;
}
.item-price {
color: #FA008A !important;
}
[type="checkbox"], [type="radio"] {
accent-color: #000;
color: #000 !important;
border-color: #000;
}
[type="checkbox"]:focus, [type="radio"]:focus {
--tw-ring-color: #FA008A !important;
outline: none;
box-shadow: 0 0 0 2px #FA008A;
}
.bump--flashing-arrow {
filter: invert(100%) sepia(0%) saturate(0%) brightness(200%) contrast(100%);
}
Edit the code to match your brand & unique class name
Before you save the custom code you just pasted in your Custom CSS box, you will need to do the following two steps to make sure the bump offer is updated to your brand colours and directed to your specific order form:
Add your brand colour hex codes
Anywhere the code has a hex code written (#FA008A for example) you will need to replace this with your own brand colour hex codes.
Add your unique order form class name
Anywhere the code has FaKHIYl9Rp written, you will need to replace this with your own unique order form class code. To find this code:
Click on the order form element > on the right hand settings menu, click the [Advanced] tab > scroll to the very bottom, where you will see CSS Selector > your code is under that. Copy the letter/number combination and replace FaKHIYl9Rp anywhere you see it written in the code.
Click [Save] > [Publish]
How to add custom code, update your hex codes and unique order form class name:
To add custom fonts to the FAQ element on your website, follow the steps below.
Where to add your Custom Code
Add this CSS code to the website page that the FAQ element is on by clicking on the paint brush icon on the edit menu bar.
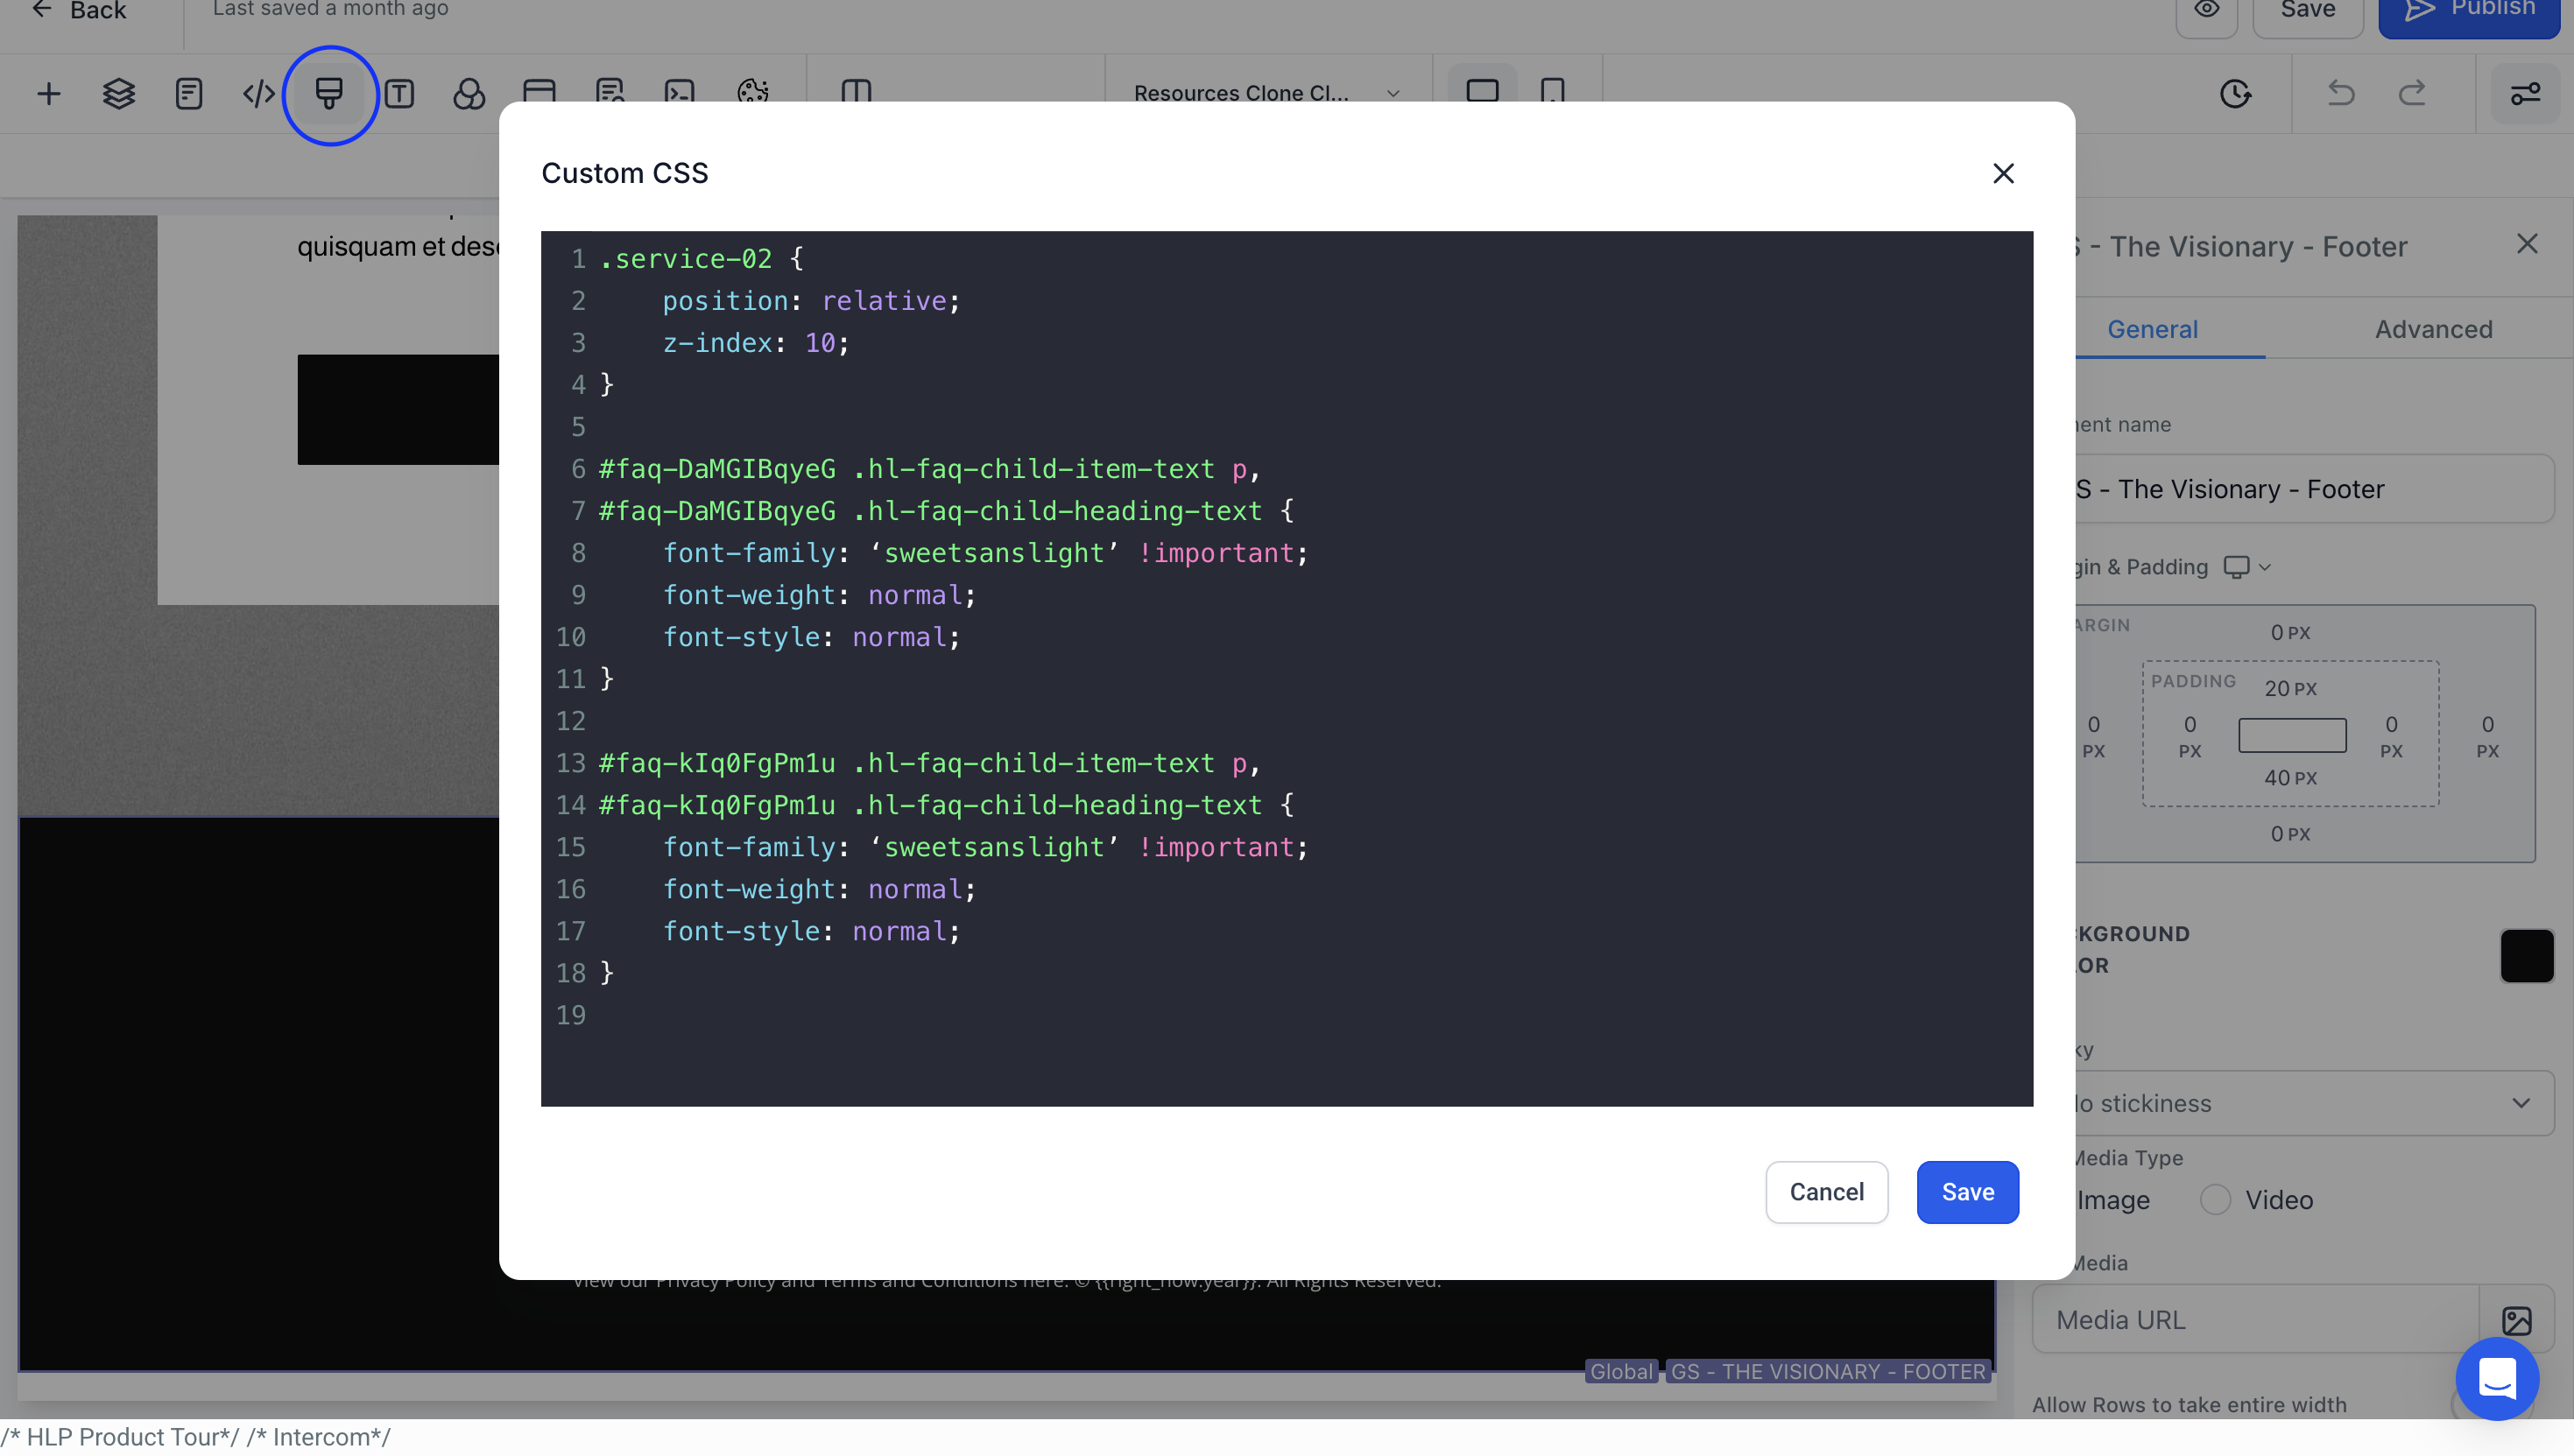
Copy/paste the Custom Code below
You will need to copy the code below and paste it into your Custom CSS box in the screen shown above.
#faq-DaMGIBqyeG .hl-faq-child-item-text p,
#faq-DaMGIBqyeG .hl-faq-child-heading-text {
font-family: ‘sweetsanslight’ !important;
font-weight: normal;
font-style: normal;
}
#faq-kIq0FgPm1u .hl-faq-child-item-text p,
#faq-kIq0FgPm1u .hl-faq-child-heading-text {
font-family: ‘sweetsanslight’ !important;
font-weight: normal;
font-style: normal;
}
Replace the FAQ element's unique ID
Where #faq-DaMGIBqyeG is used above in bold, you will need to replace with your own FAQ element’s unique ID. To find your FAQ elements unique ID:
Click on the FAQ Element > on the right hand settings menu, click the [Advanced] tab > scroll all the way to the bottom, under CSS Selector is your FAQ elements unique ID > copy this code and replace it in the code above where #faq-DaMGIBqyeG is used.
Replace the font name
Where the font names are in bold in the code above, (e.g. 'sweetsanslight') you will need to replace these with the font name you want to use instead.
Click [Save] > [Publish]
If you want to customise the blog element to match your website fonts please follow the steps below.
Note: This is for web fonts, and public-access fonts. Please refer to our Design & Customise Your Site Pages guide for the detailed steps for how to upload a custom font.
Where to add your Custom Code
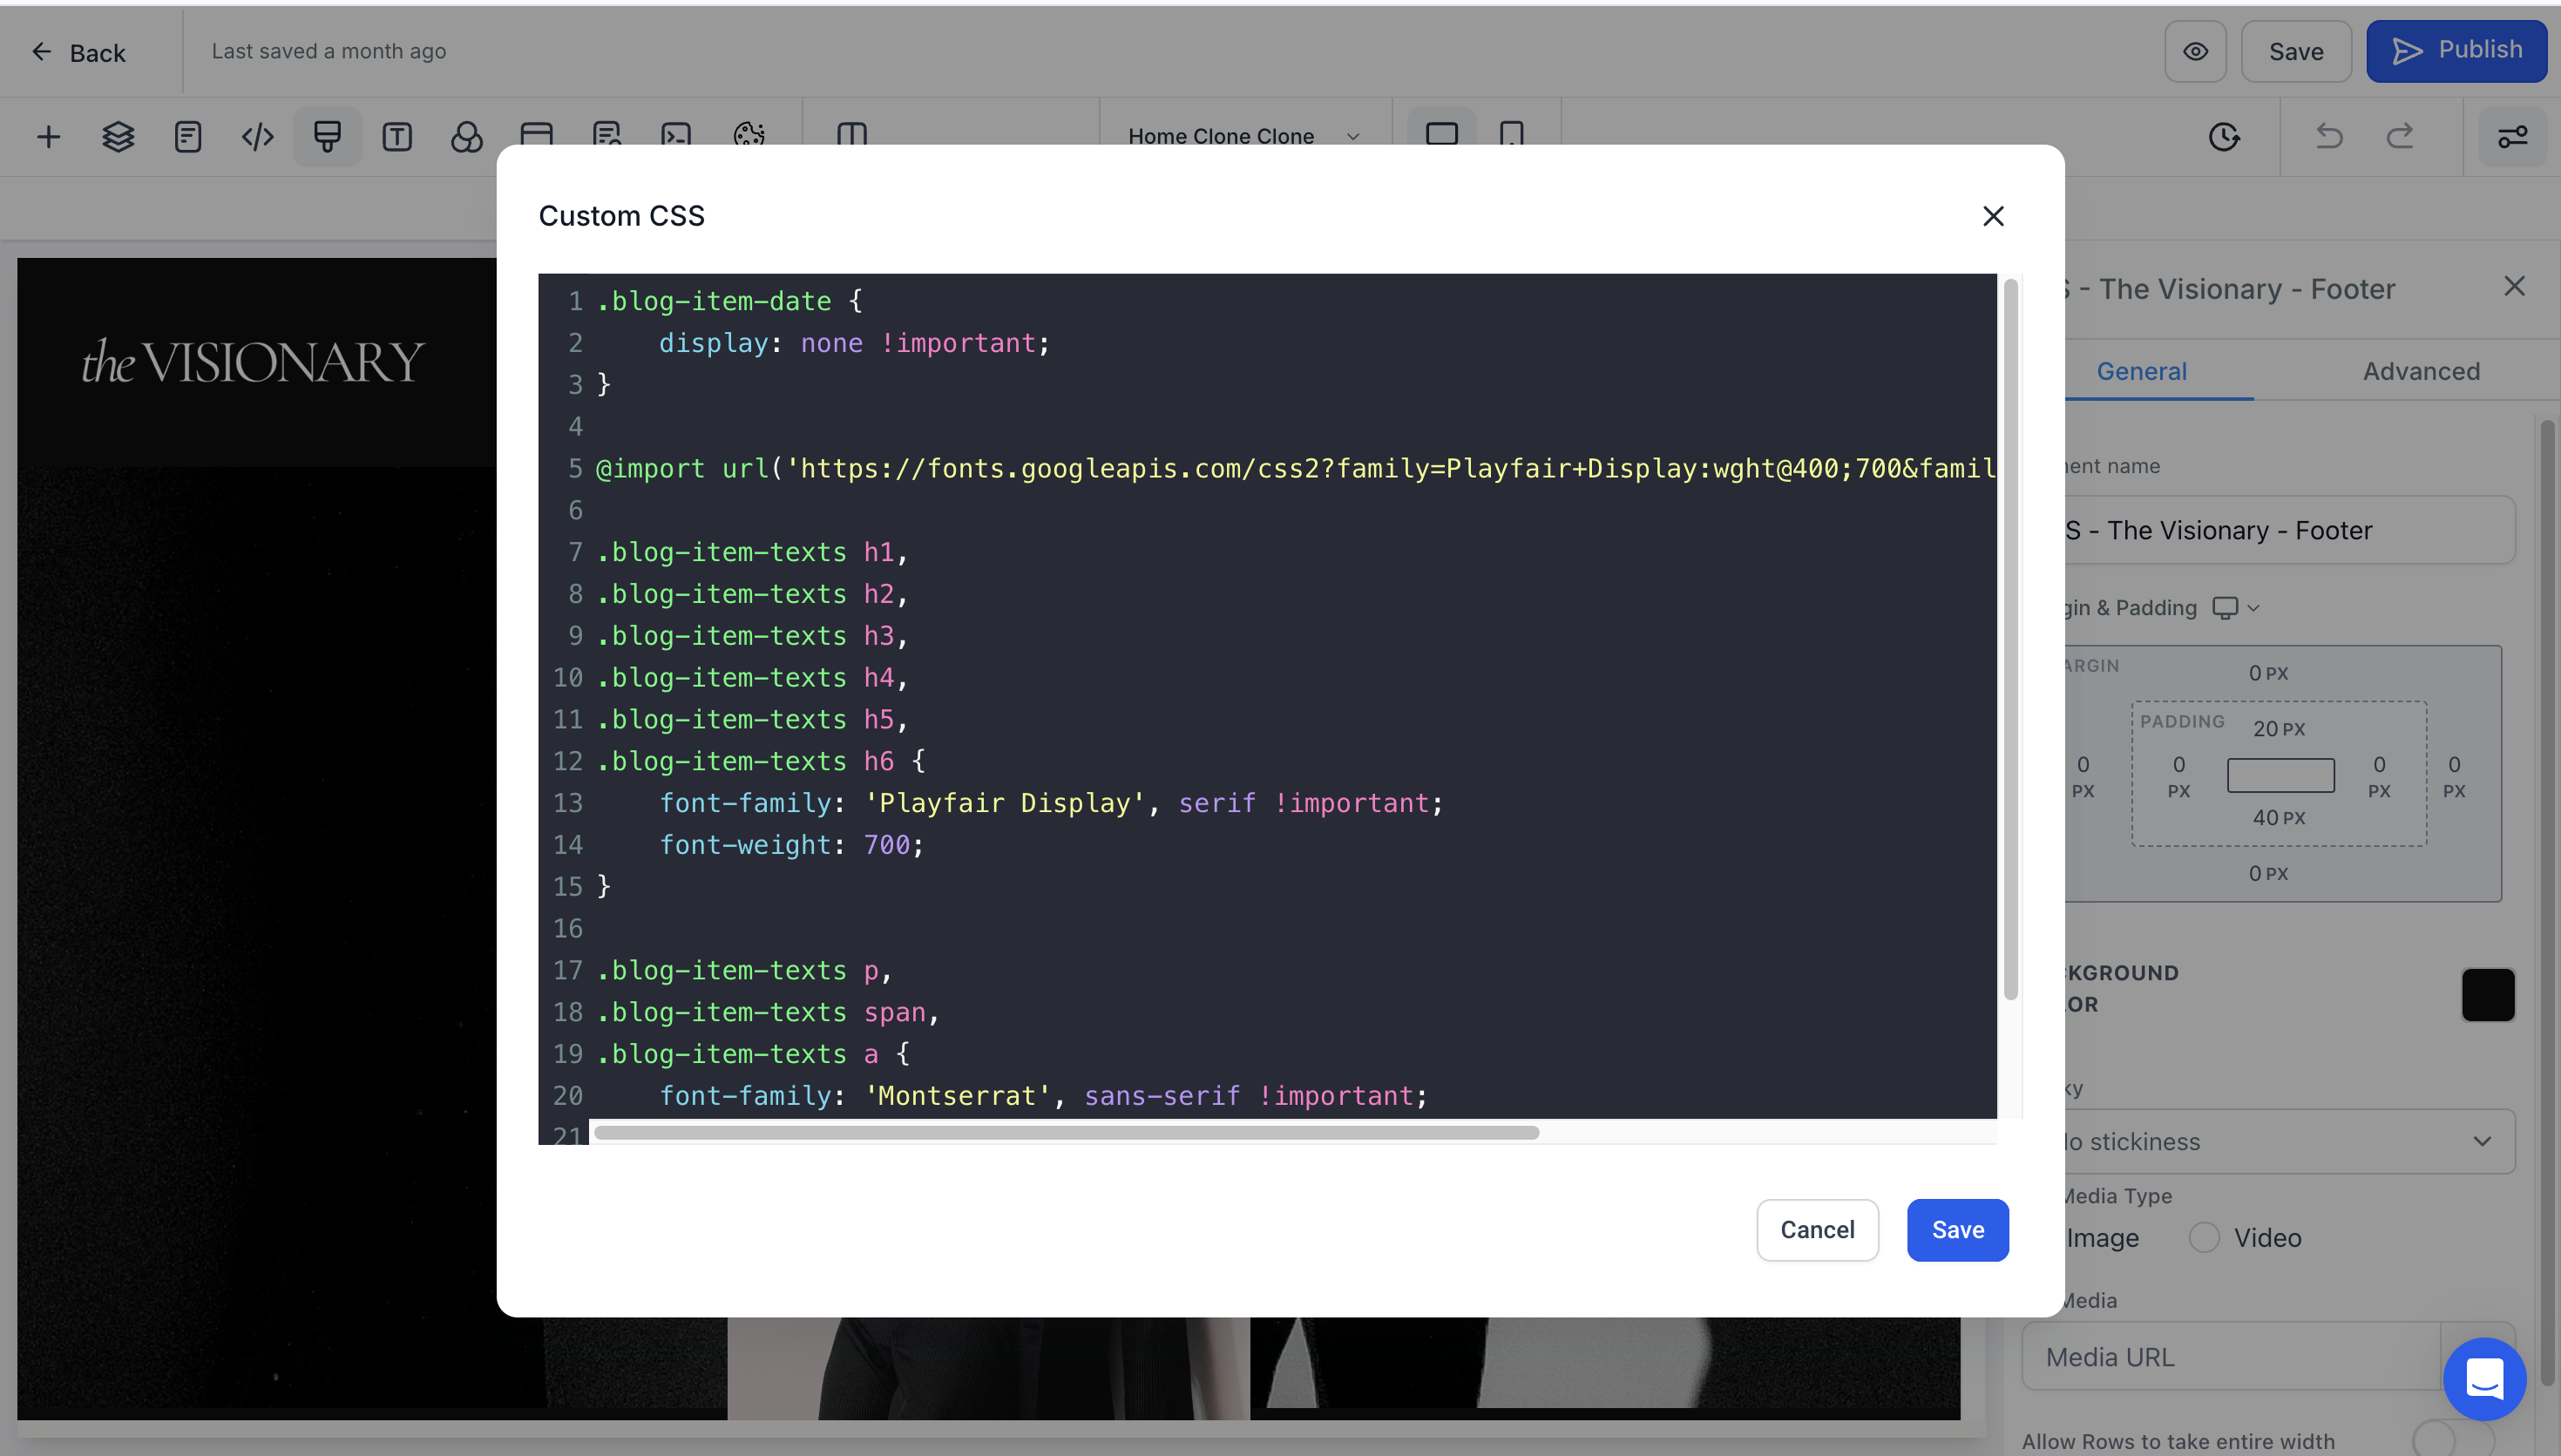
Add this CSS code to the website page that the blog element is on by clicking on the paint brush icon on the edit menu bar.

Copy/paste the Custom Code below
You will need to copy the code below and paste it into your Custom CSS box in the screen shown above.
@import url('https://fonts.googleapis.com/css2?family=Playfair+Display:wght@400;700&family=Montserrat:[email protected]&display=swap');
.blog-item-texts h1,
.blog-item-texts h2,
.blog-item-texts h2 a,
.blog-item-texts h3,
.blog-item-texts h4,
.blog-item-texts h5,
.blog-item-texts h6 {
font-family: 'Playfair Display', serif !important;
font-weight: 700;
}
.blog-item-texts p,
.blog-item-texts span,
.blog-item-texts a {
font-family: 'Montserrat', sans-serif !important;
font-weight: 400;
}
.blog-item-category {
font-family: 'Montserrat', sans-serif !important;
}
.hl-category-nav-menu-text {
font-family: 'Montserrat', sans-serif !important;
}
Replace Import URL with the Google font import URL
Go to https://fonts.google.com/ > type in your Google font in the search bar > click [Get Font] > click [Get embed code] > click [Import]
Copy the import URL and paste it in the code box, in place of the import URL used above in bold.
Replace the font name and variable style
Where the font names are in bold in the code above (e.g. Playfair Display), you will need to replace these with the font names you want to use instead.
You can also change the font weight as required, by changing the number used under the font name in the code.
Click [Save] > [Publish]
How to add your custom code and copy the Google import URL:
To remove the 'published date' displayed on the blog element of your website please follow the steps below.
Where to add your Custom Code
Add this CSS code to the page that the blog element is on by clicking on the paint brush icon on the edit menu bar.
Copy/paste the Custom Code below
You will need to copy the code below and paste it into your Custom CSS box in the screen shown above.
.blog-item-date {
display: none !important;
}
Click [Save] > [Publish]
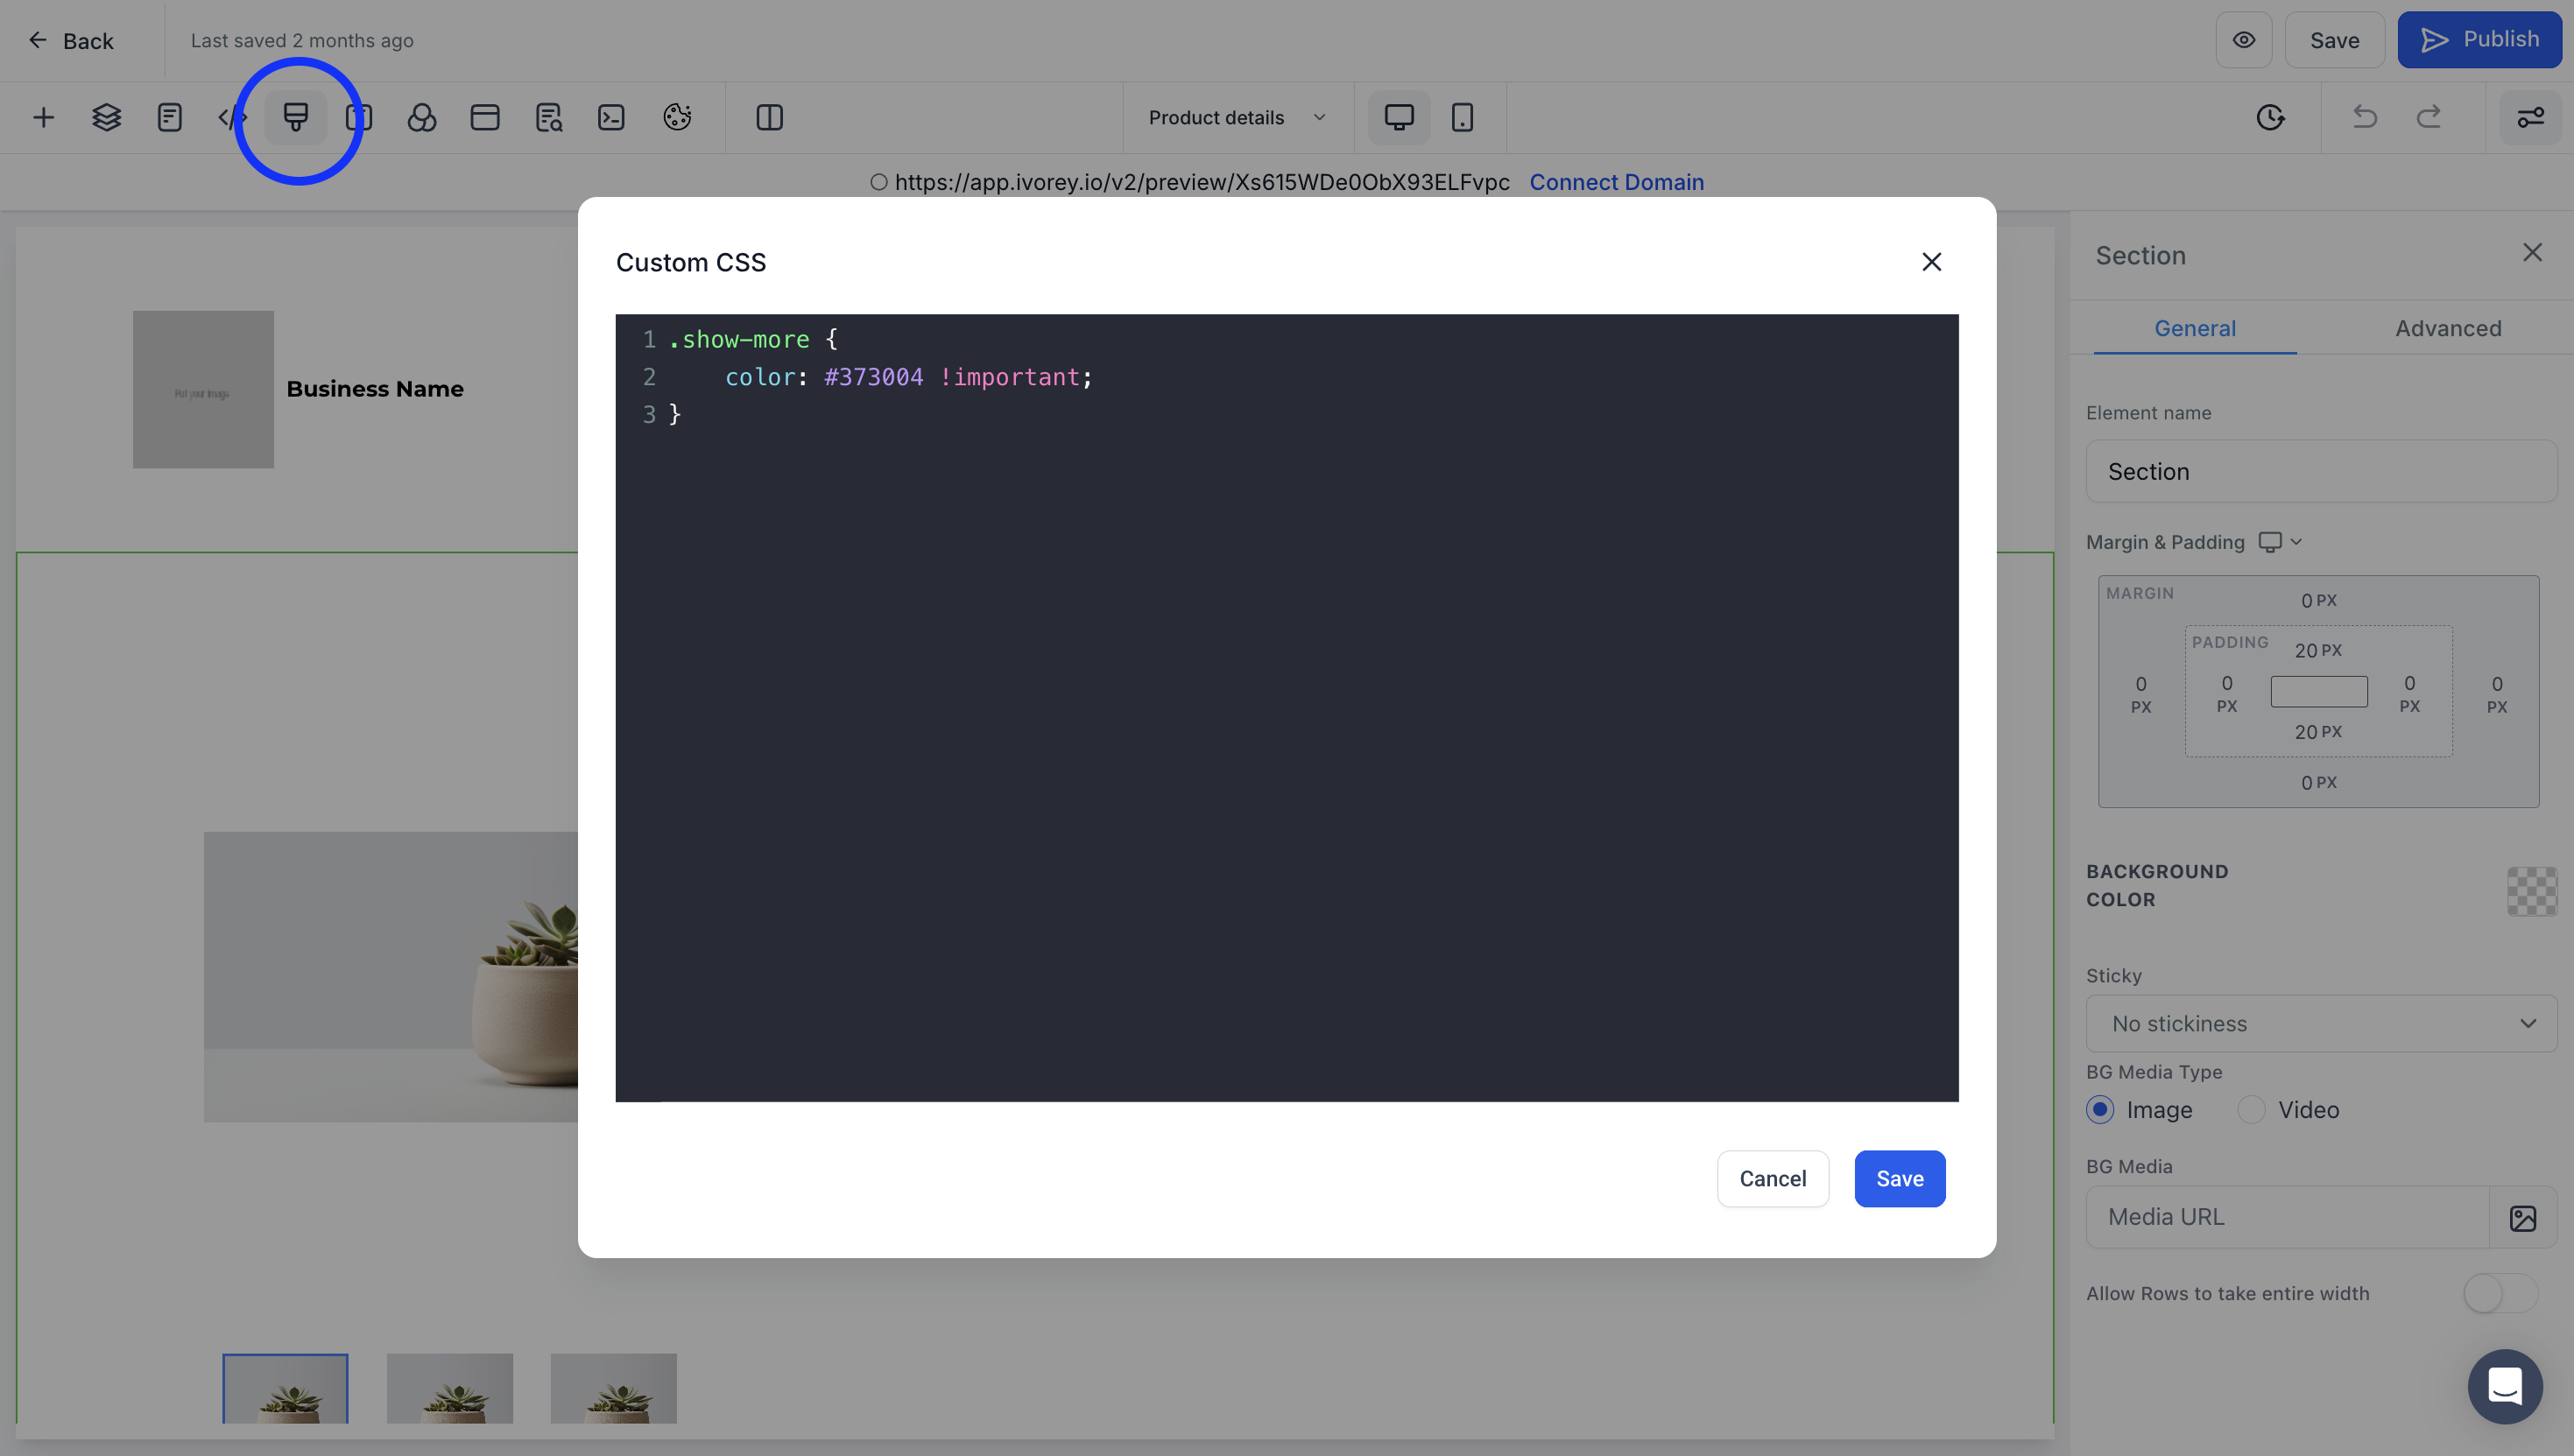
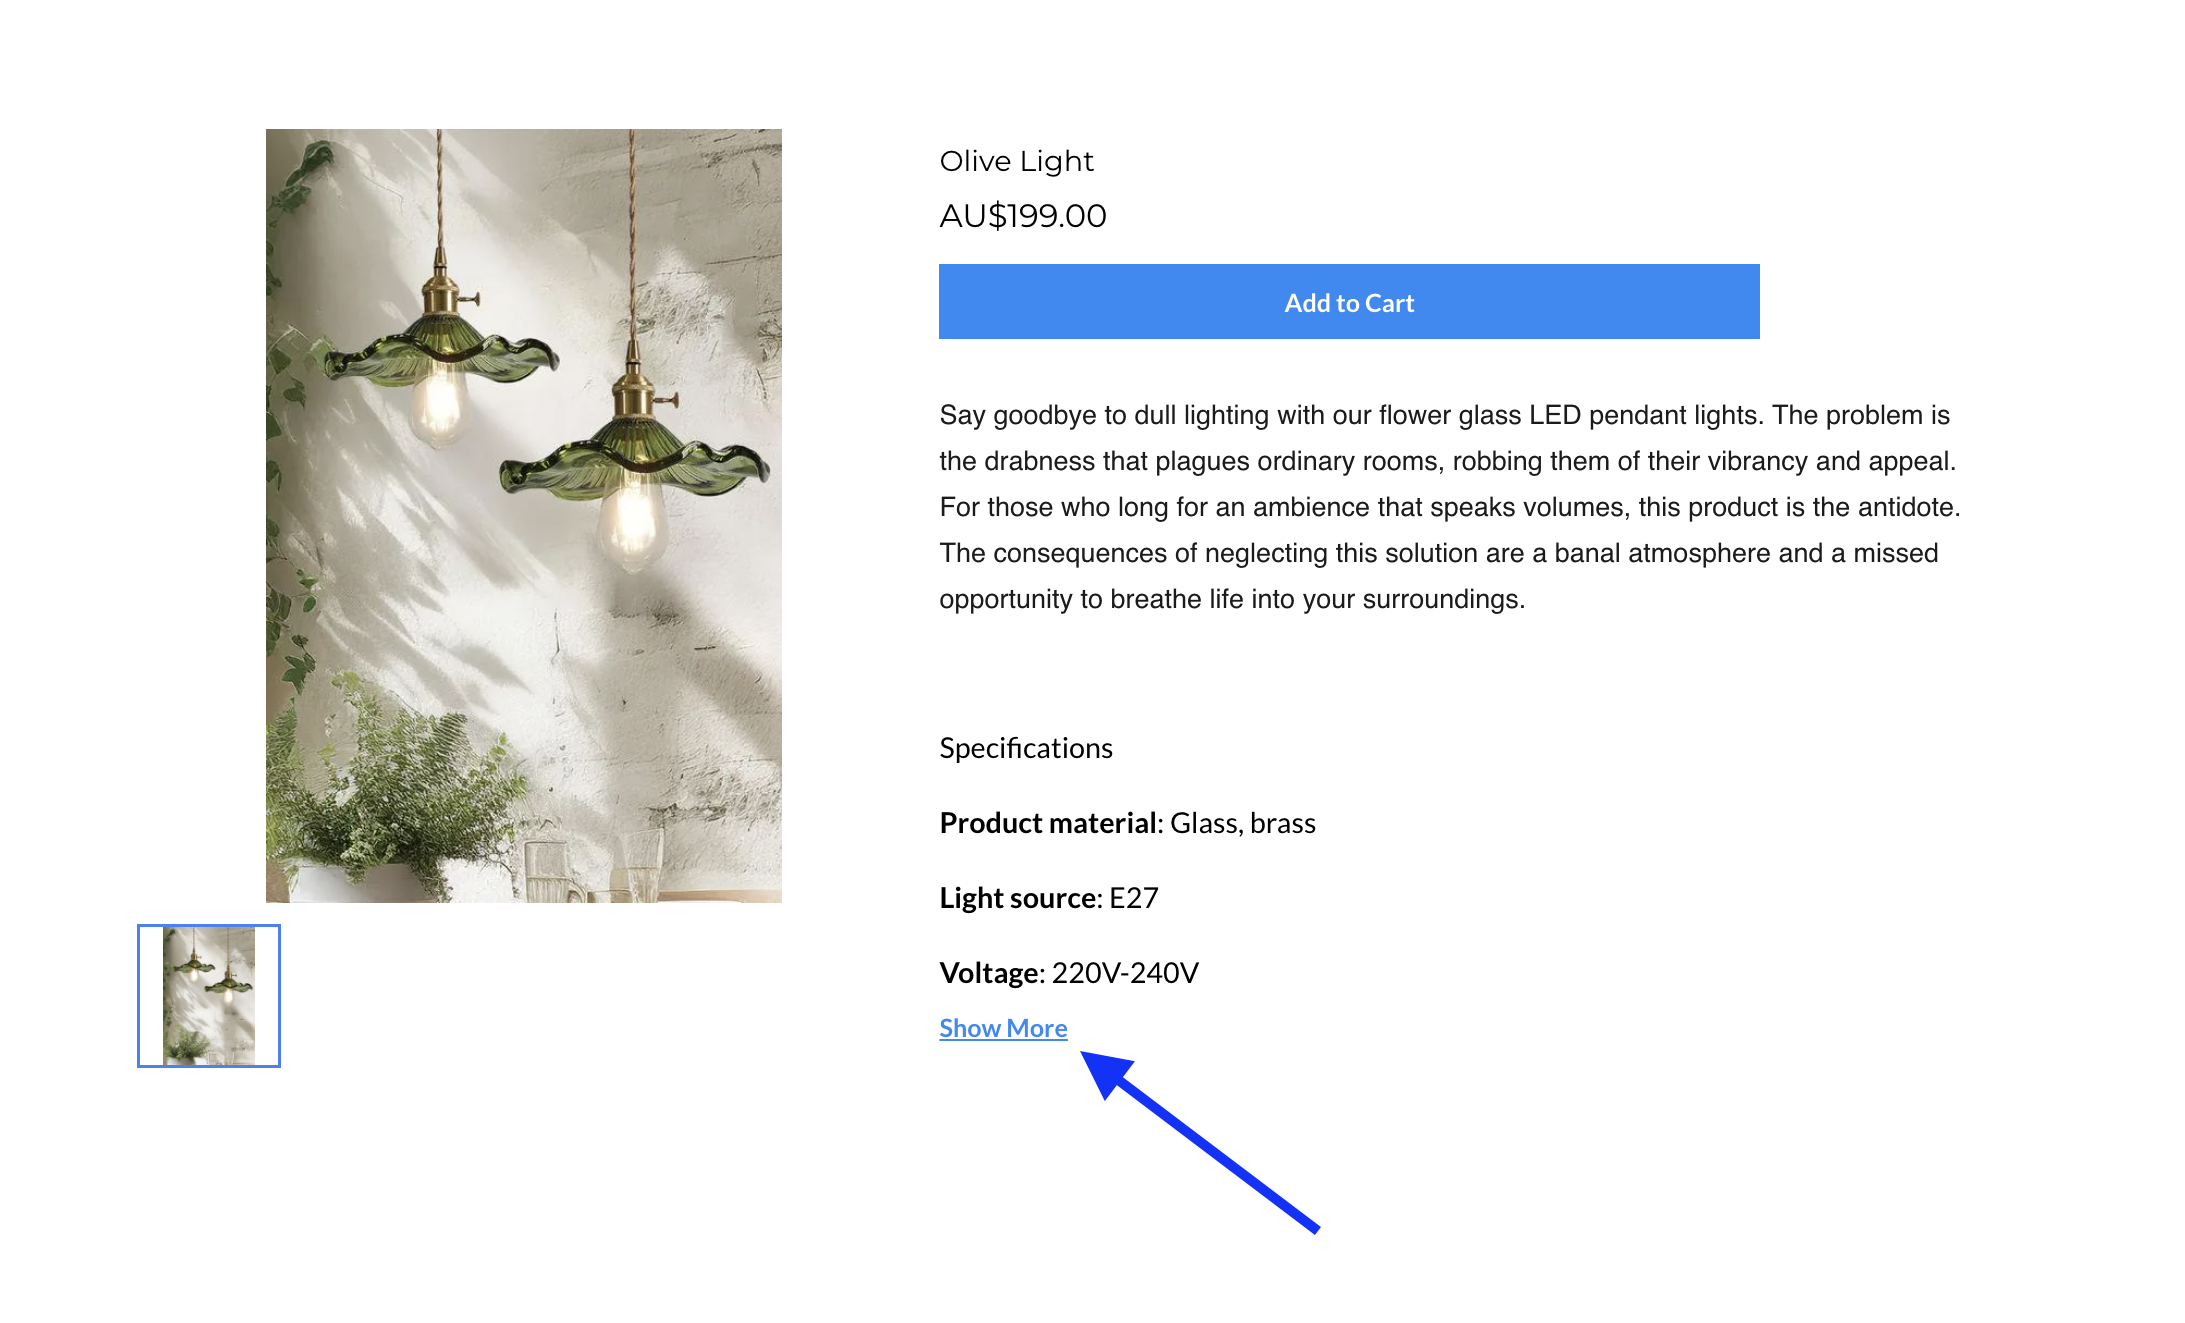
To customise the colour of the 'Show More' link on the product details page of your store please follow the steps below.
Finding the 'Show More' link
Where to Add your Custom Code
Add this CSS code to the product details page of your store by clicking on the paint brush icon on the edit menu bar.

Copy/paste the Custom Code below
You will need to copy the code below and paste it into your Custom CSS box in the screen shown above.
.show-more {
color: #373004 !important;
}
Add your brand colour hex codes
Replace #373004 in the code with the hex code of the colour you want to change it to.
Click [Save] > [Publish]
To remove the Portal Name and Portal Description from the Client Portal Login page please follow the steps below.
Where to Add your Custom Code
Add this CSS code to the branding settings of your client portal by going to Courses > Client Portal > Settings > Branding > Advanced > Custom CSS box.
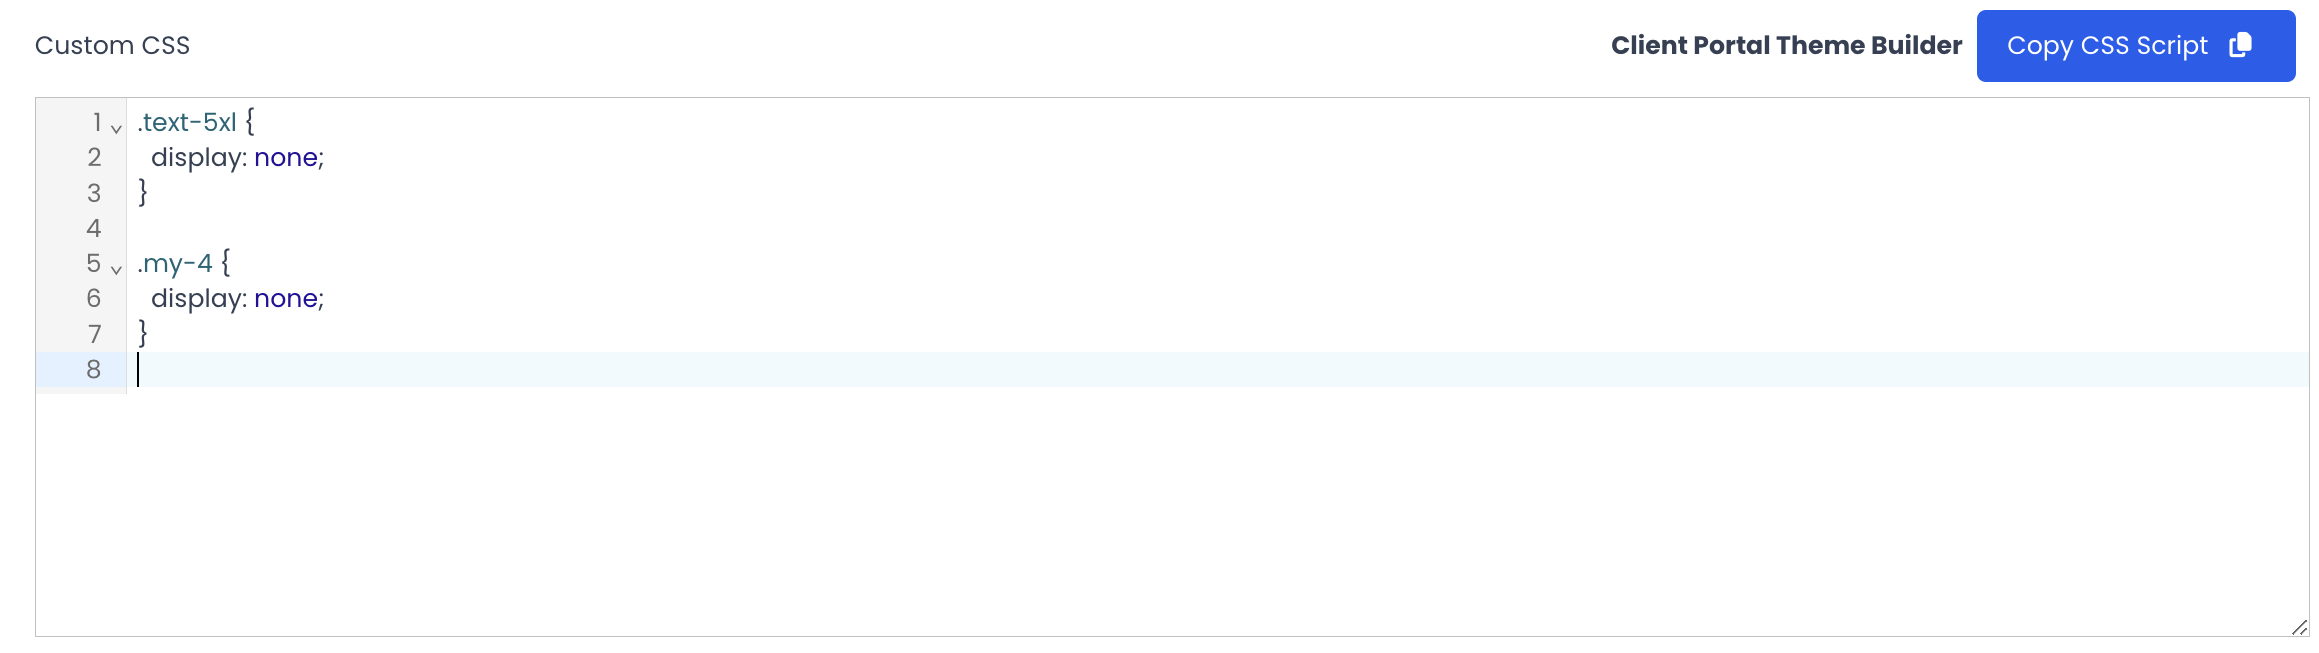
Copy/paste the Custom Code below
You will need to copy the code below and paste it into your Custom CSS box in the screen shown above.
.text-5xl {
display: none;
}
.my-4 {
display: none;
}
Click [Save]
To customise the colour of the search bar inside of your community, please follow the steps below.
Where to Add your Custom Code
Add this CSS code to the branding settings of your client portal by going to Courses > Communities > Groups > Login into your Community > click Settings > Branding > Advanced > Custom CSS box.
Copy/paste the Custom Code below
You will need to copy the code below and paste it into the Custom CSS box.
.placeholder\:text-communities-font-secondary::placeholder {
color: #fefefe;
}
.bg-communities-search-background {
background-color: #8c3614;
}
Add your brand colour hex codes
Replace #8c3614 in the code with the hex code of the colour you want to change it to.
Click [Save]
Hit the support chat widget inside Ivorey™ - we can:
Walk you through any of the steps
Troubleshoot anything that’s not working
We’re here and ready to help via the chat widget in the bottom right of your Ivorey™ account. Or if you are looking for done-for-you support, you can browse our current services here 🤍
